


Envelopes Aren’t Afterthoughts
You get an RFQ for a direct mail package, but something’s missing.
Let the printing begin
When printing envelopes, there are four key areas to watch for:
Alignment: It’s important to review the design of a pre-converted envelope to determine which short side of the envelope will be the gripper edge: make sure an allowance is made on that side of the envelope. As with any envelope, watch for areas that need to be left clear to meet postal requirements.
Rub Off: With a pre-converted envelope, be alert for offsetting — ink residue that can show up on the back of the envelope when heavy coverage is printed on the front. If you’re trying to achieve a large solid-color area, a simple way to avoid offsetting is to combine a colored envelope with a label. Remember, some toners used in digital presses are more scuff resistant than offset inks.
Seams: Screens or printed text may sometimes appear heavier on the seams, where the double thickness of paper and glue creates a raised area. Depending on the artwork, it may be best to choose a side-seam or diagonal-seam envelope. And because of variability in die-cutting and folding, avoid designs that require an exact register across the envelope’s seam.
Gluing Areas: Here’s the basic rule: Don’t print where there’s going to be glue. When you see a design that involves printing with full ink coverage, check with Mohawk for a “no print area” sample.
All about bleeds
Color and more color is the hottest trend. Often this is achieved by using a brightly colored envelope — but full-bleed graphics over large areas of the envelope are being requested more and more. The minute you hear bleed, consider unconverted envelopes: It’s only possible to bleed solids or screens on all four sides of the outside and inside of the envelope and flap if you print first and convert second. Bleeds on the inside of an envelope are great for both dramatic effect and to provide security via added opacity.
Make sure there is a 1/8-in. bleed over any edge or fold of the envelope. All envelope converting involves up to 1/16-in. variation in cutting and folding, so there’s never a 100% guarantee that the bleed will lay exactly on the score or fold line every time.
Do it right the first time
The U.S. Postal Service publishes the Domestic Mail Manual (available at www.usps.gov), which provides a wealth of information and easy-to-use templates.
Tips for Planning a Successful Envelope:
- Check with the post office before you print.
- Test a sample through a laser printer.
- Preflight check for timing. At Mohawk, stocked envelopes are available quickly, while others can be manufactured in any Mohawk paper, at any size.
- Use templates and guides to help with the layout process.
- Take a course at USPS to become a Certified Mail Design Professional.
Suggested Articles
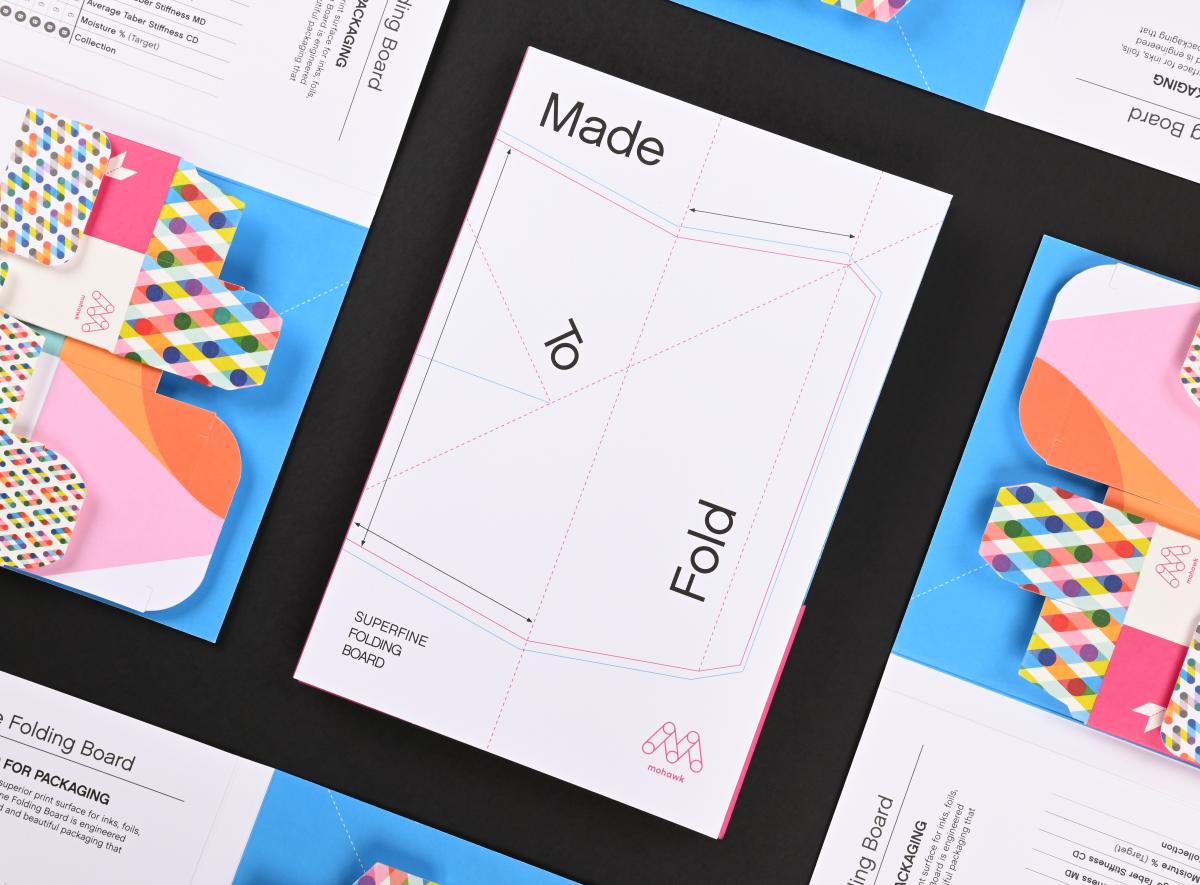
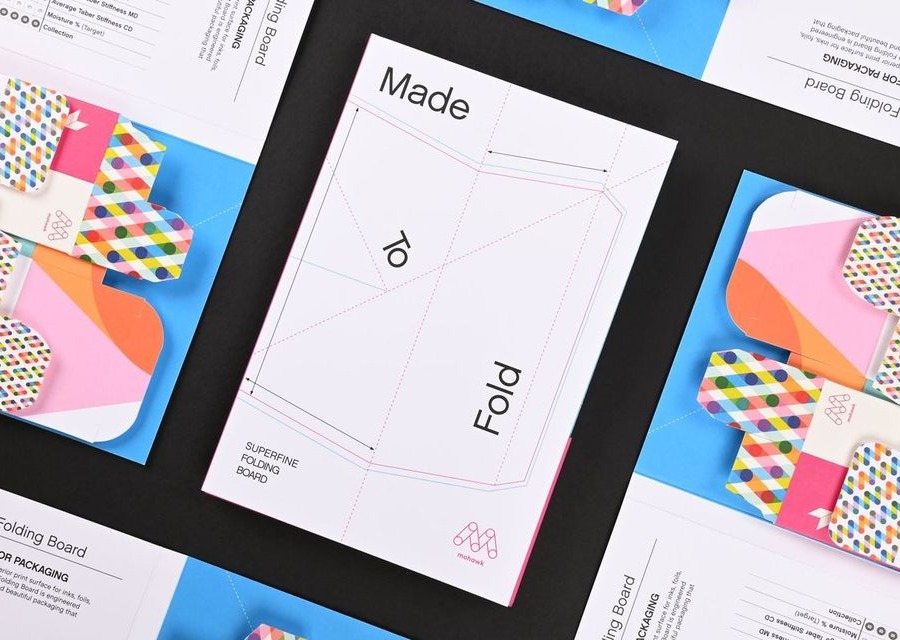
To Have and to Fold: Superfine Specifically Engineered for Packaging
It's the most wonderful time of the year! What will you give this holiday season?